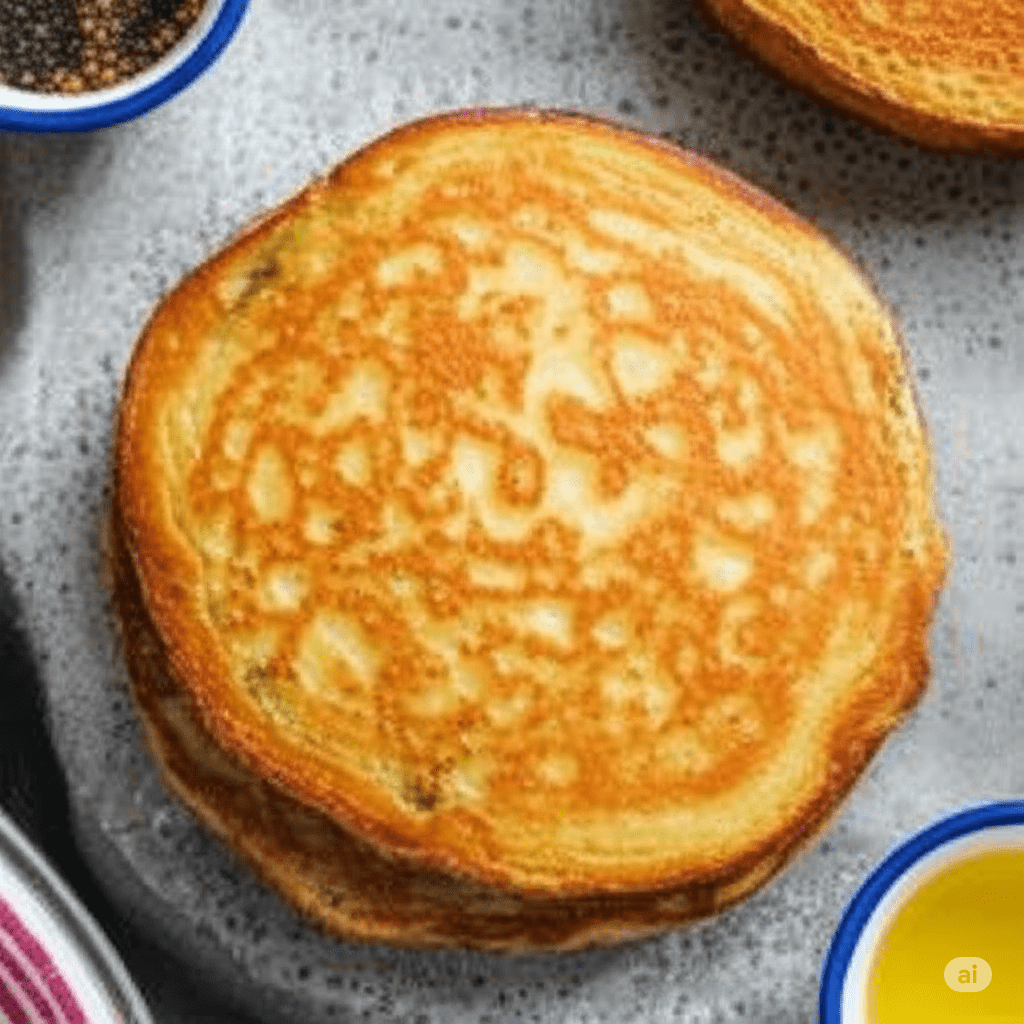
Kimchi Pancake (Kimchijeon) There’s nothing quite like the satisfying crunch and tang of a freshly pan-fried kimchi pancake. Known as Kimchijeon in Korea, this simple yet flavorful snack transforms humble fermented kimchi into an irresistible dish you can enjoy with friends, family, or just a cozy evening alone. The outside becomes golden and crispy, while the inside stays tender, juicy, and bursting with the rich, sweet-sour flavor of aged kimchi. Whether you’re a novice cook or a seasoned food lover, this recipe will show you step by step how to create the most delicious kimchi pancake right in your kitchen.
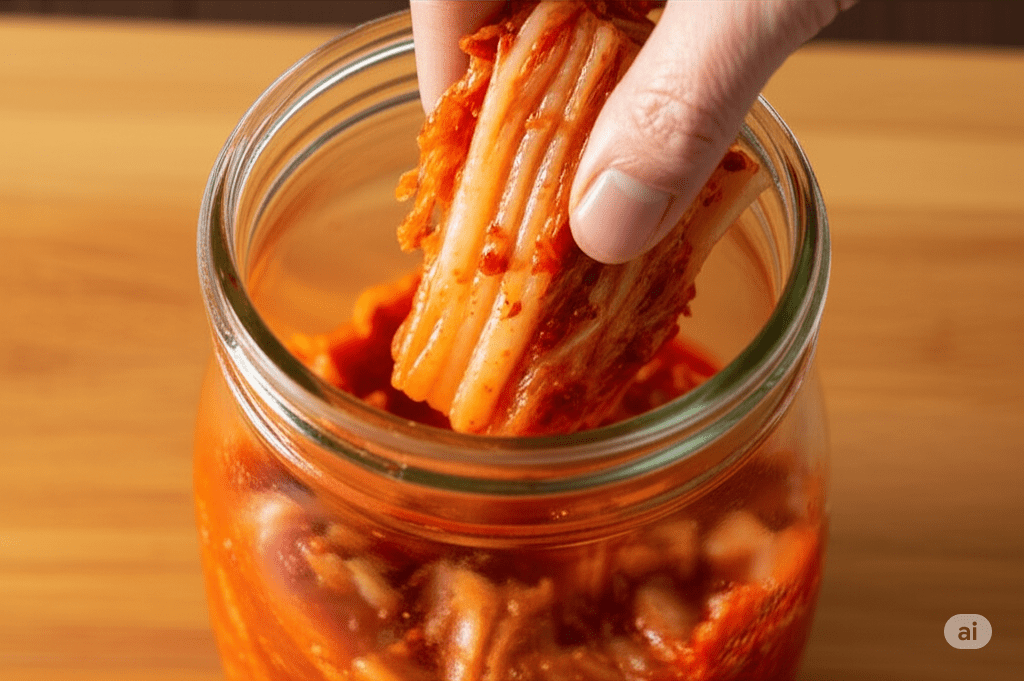
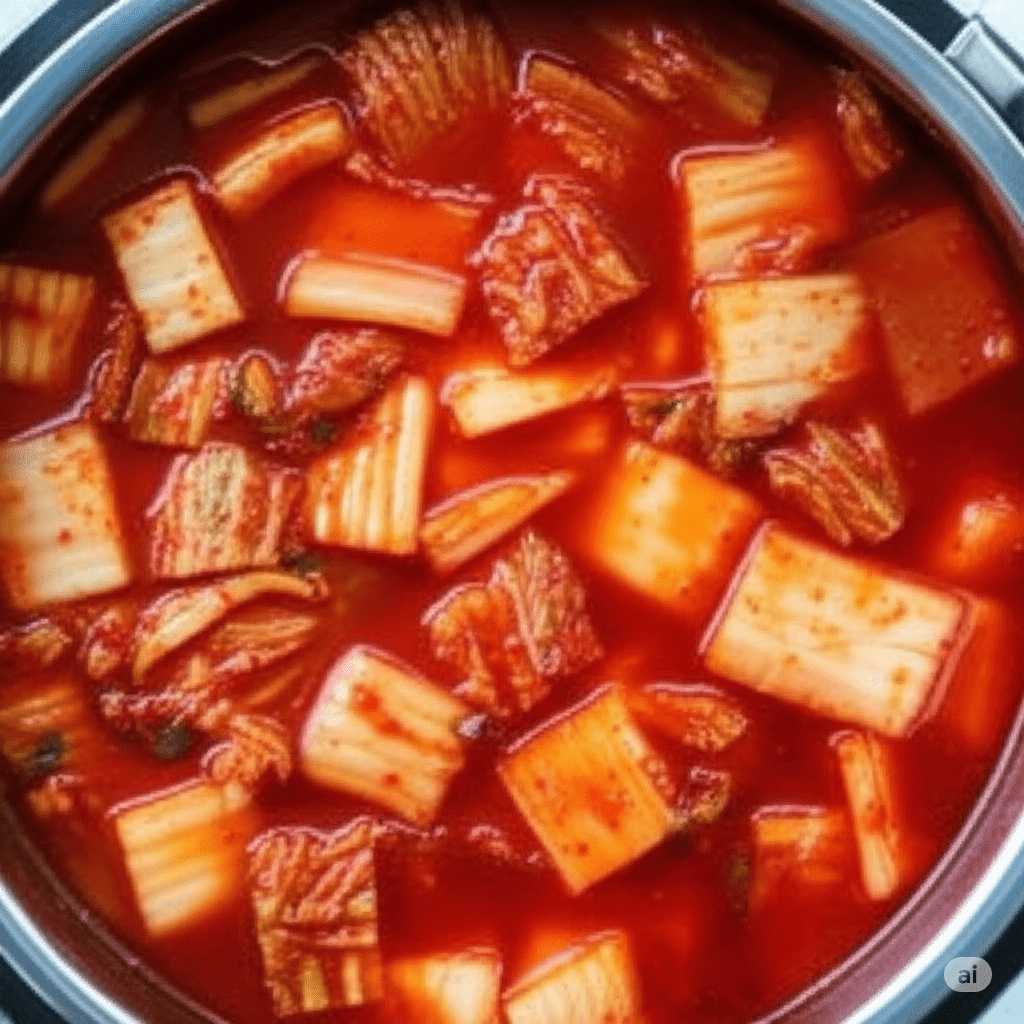
The true star of this recipe is well-fermented kimchi. The sourness that develops over weeks in the fridge is what brings authentic depth of flavor and makes every bite unforgettable. Feel free to use any kimchi you have—homemade or store-bought—but aim for the older, tangier batches for the best results.
Tip: Press your kimchi down in its container after taking some out to keep the rest fresh!
Below are the ingredients scaled for different batch sizes:
Quantity
1× (1 pancake)
2× (2 pancakes)
4× (4 pancakes)
Fermented kimchi
8 oz (½ lb)
1 lb
2 lbs
Kimchi brine
2 Tbsp
4 Tbsp
8 Tbsp
All-purpose flour
½ cup
1 cup
2 cups
Cold water
½ cup
1 cup
2 cups
Chopped onion
2 Tbsp
4 Tbsp
8 Tbsp
Chopped green onion
2 Tbsp (optional)
4 Tbsp
8 Tbsp
Swerve or sugar
½ tsp
1 tsp
2 tsp
Vegetable oil
~4 Tbsp
~8 Tbsp
~16 Tbsp
🍳 How to Make Kimchi Pancake (Step by Step with Times)
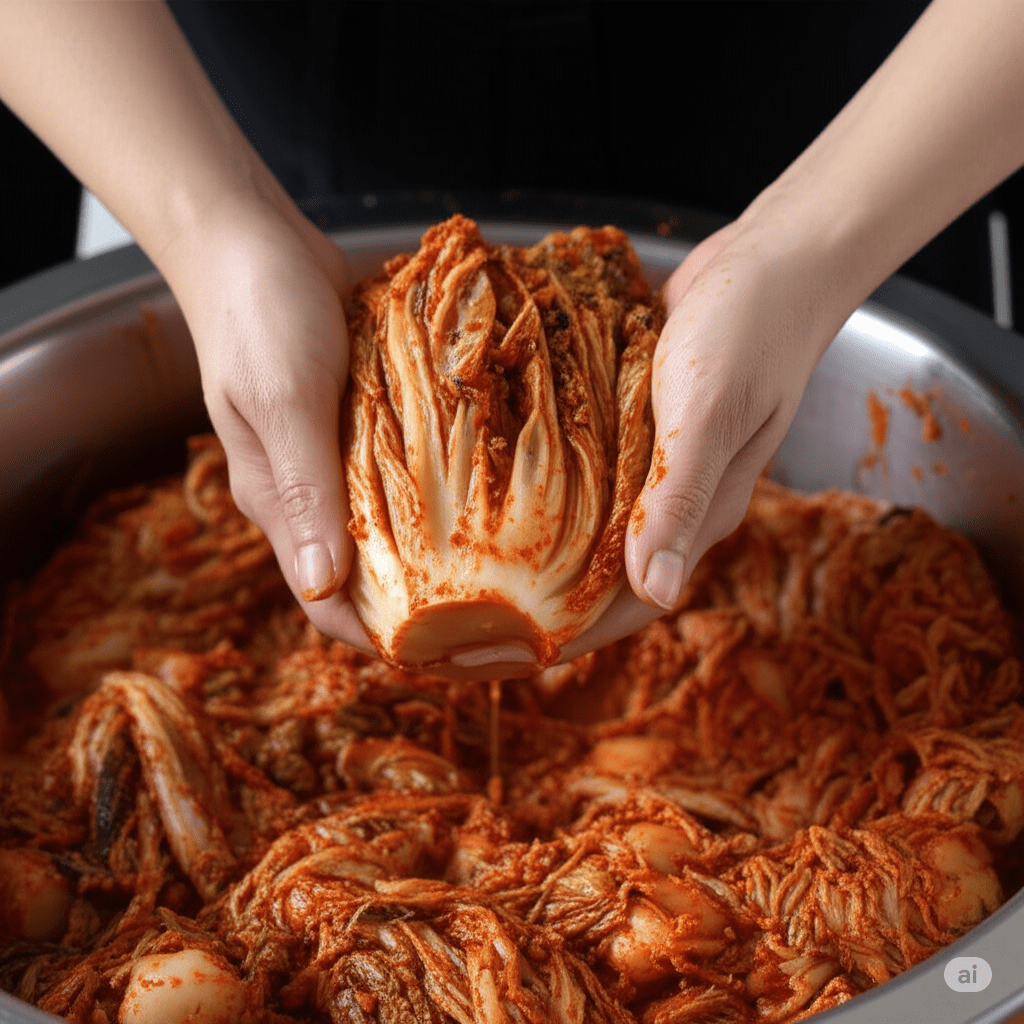
Step 1: Prepare the Kimchi (2 min)
Take 8 oz fermented kimchi out of the container.
Press it gently to release extra brine.
Reserve 2 Tbsp brine for the batter.
Chop kimchi finely on a cutting board.
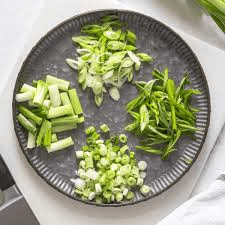
Step 2: Add the Vegetables (2 min)
Finely chop 2 Tbsp onion and a little green onion.
Mix into the chopped kimchi.
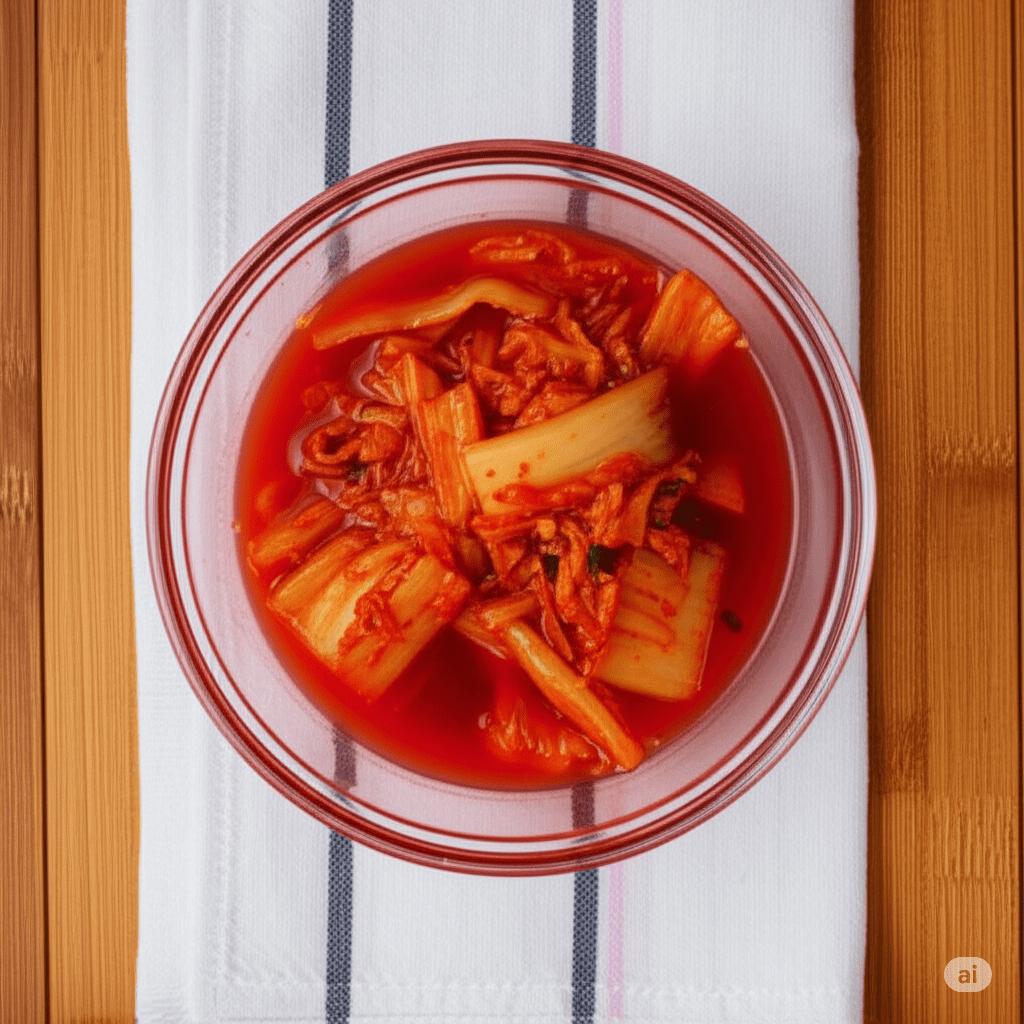
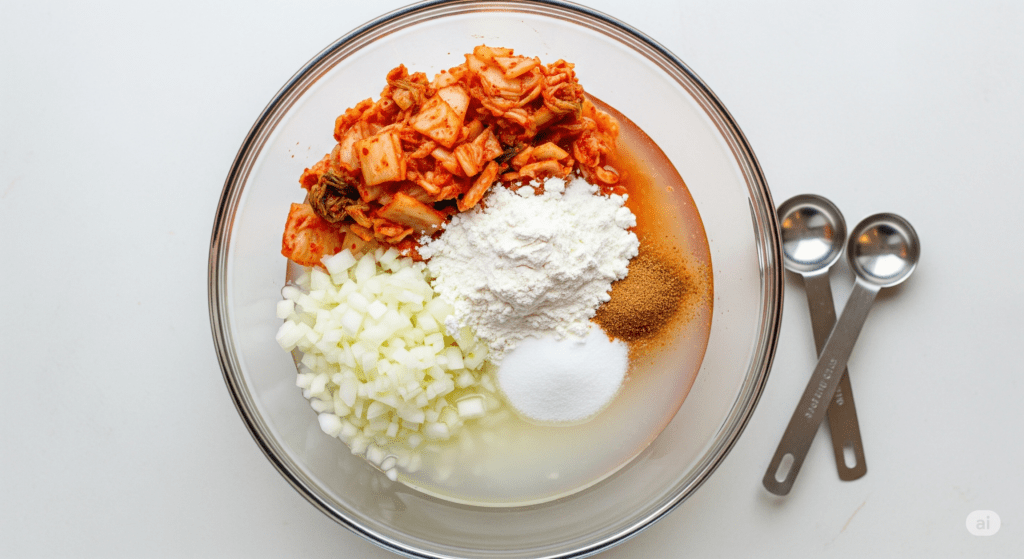
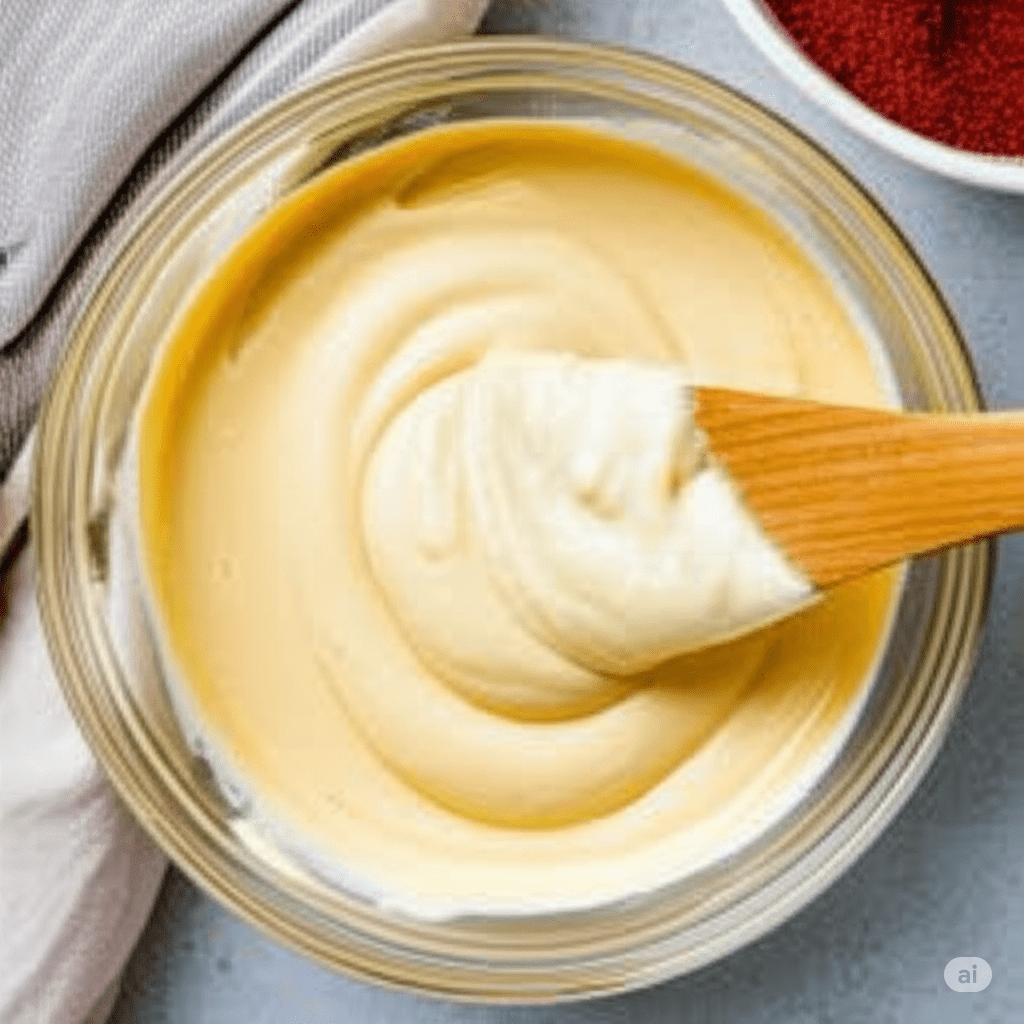
Step 3: Make the Batter (1 min)
In a mixing bowl, combine chopped kimchi, onion, brine, ½ cup flour, ½ cup cold water, and ½ tsp swerve or sugar.
Stir until smooth.
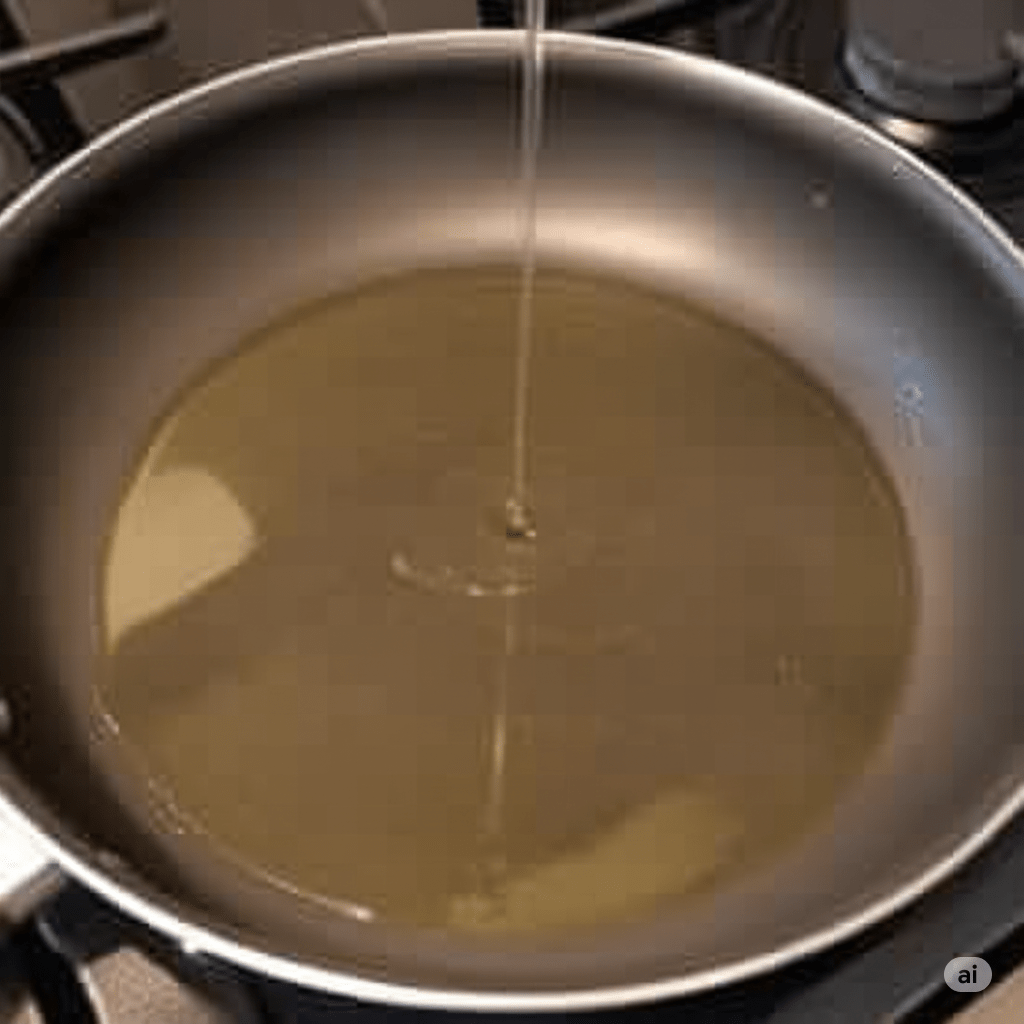
Step 4: Preheat the Pan (2 min)
Use a large non-stick skillet.
Over medium-high heat, add 2 Tbsp vegetable oil and swirl.
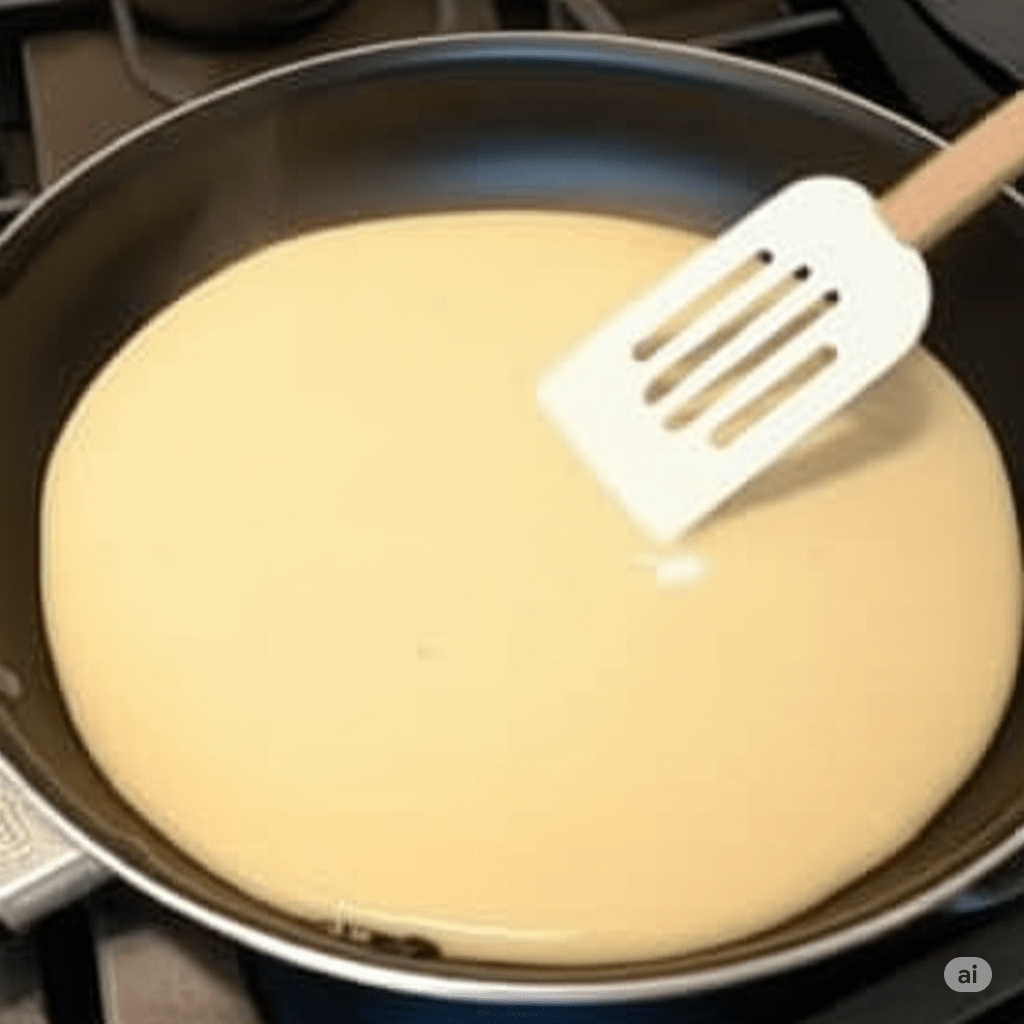
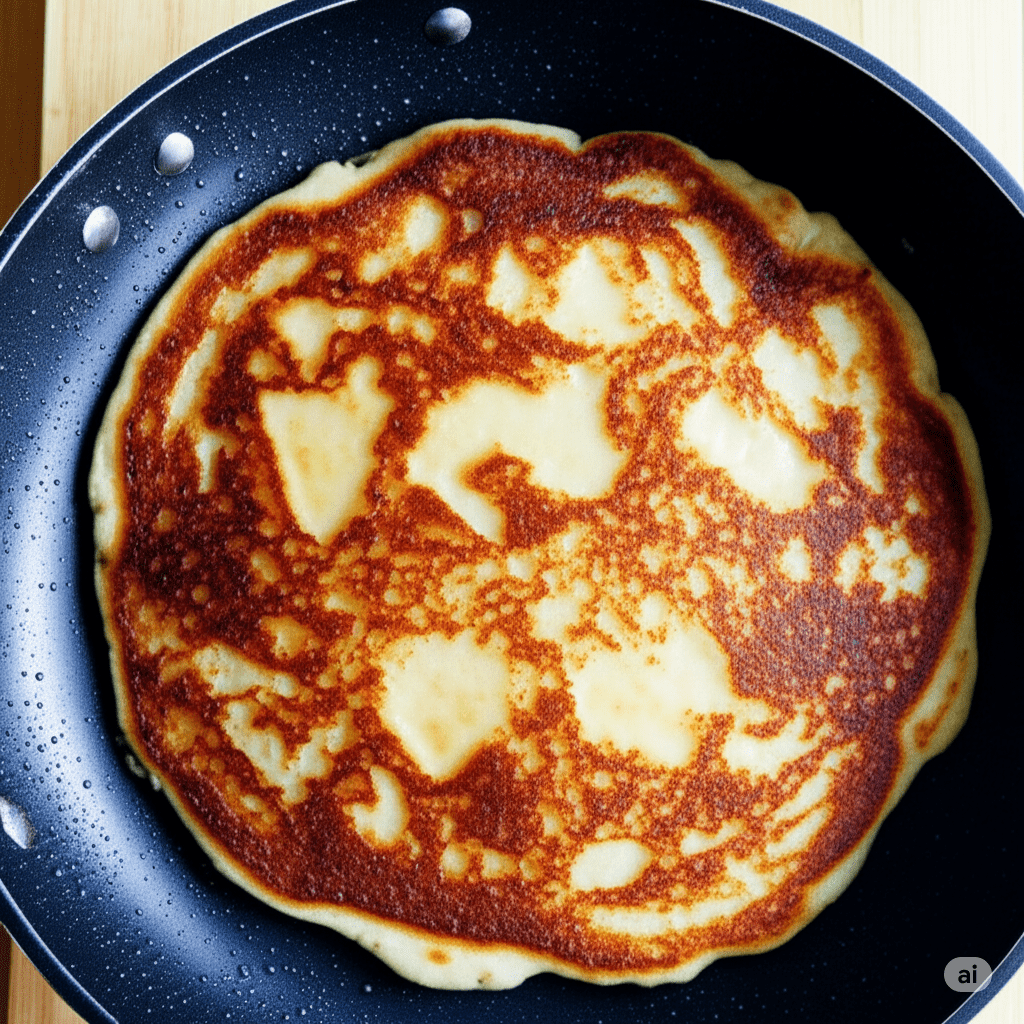
Step 5: Cook the Pancake – Side 1 (2 min)
Pour the batter into the pan and spread to about 12 inches wide.
Cook until the bottom is golden and crunchy.
Step 6: Flip and Cook – Side 2 (2 min)
Carefully flip with a large spatula or practice your flip skills.
Cook until the second side is also golden.
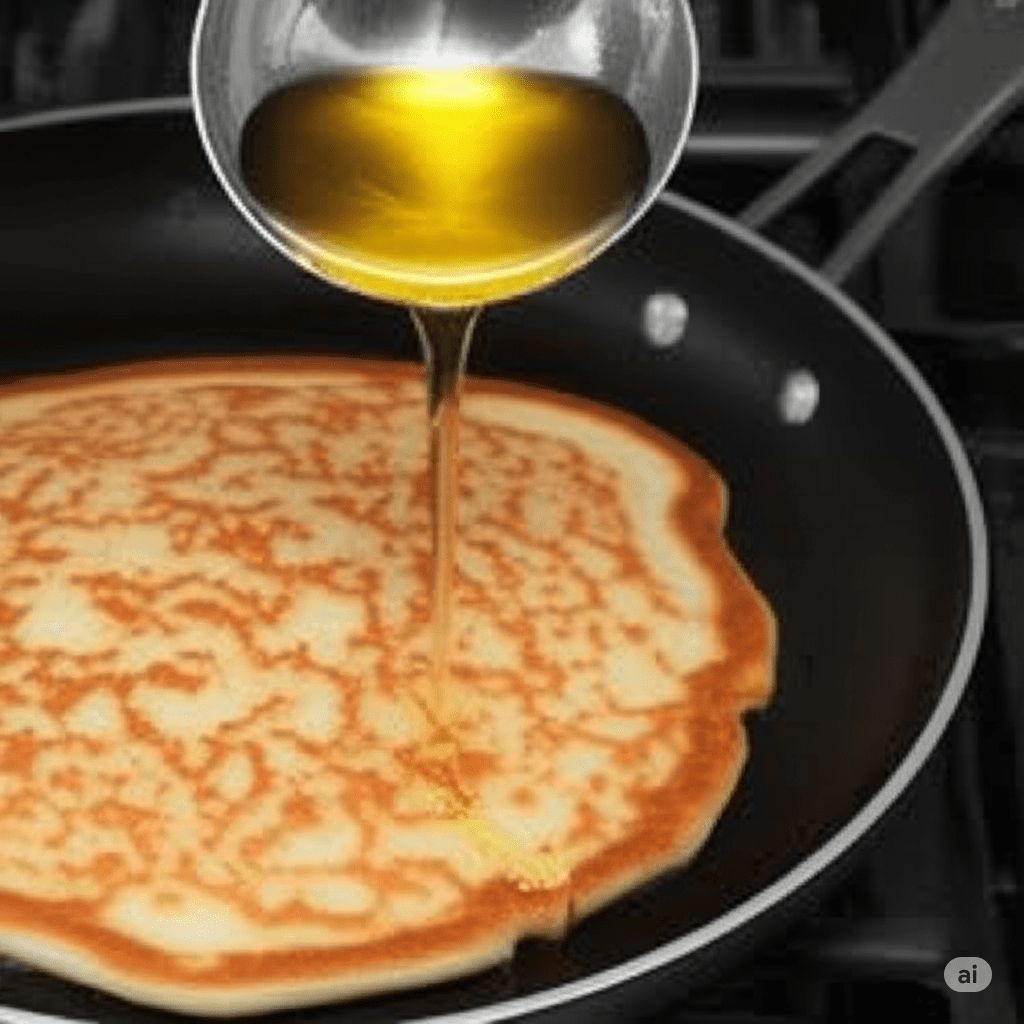
Step 7: Crisp the Edges (1 min)
Add 2 more Tbsp oil around the edges.
Tilt the pan so oil reaches the center.
Step 8: Final Cooking (1 min)
Shake gently to ensure even browning.
Cook another 30 sec–1 min.
Step 9: Serve and Enjoy (immediate)
Transfer to a plate.
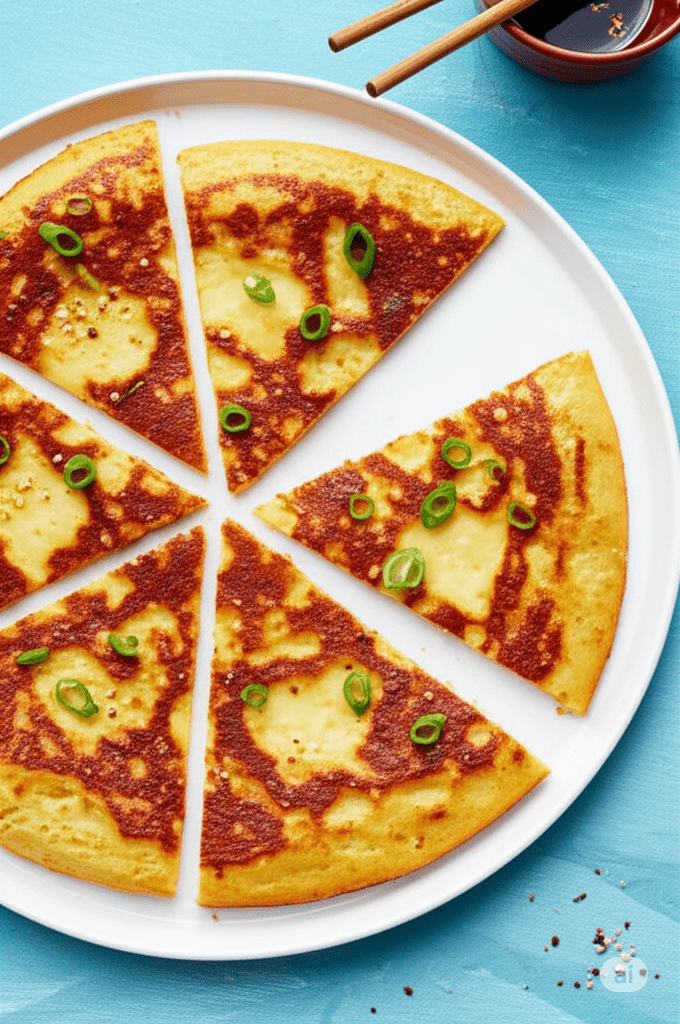
Slice like pizza and serve with chopsticks.
💧 How to Make Moist and Irresistible Kimchi Pancakes
To create the moistest yet crispiest kimchi pancake, balance is everything:
Fermented kimchi brings tang and moisture.
Cold water in the batter keeps the texture tender inside.
Plenty of oil guarantees golden edges and a beautiful crunch.
Swerve or sugar gently rounds out the sourness. This interplay of textures—crispy, moist, chewy—makes every bite unforgettable.
✅ 10 Test Kitchen Tips
Use well-fermented kimchi for maximum flavor.
Always reserve kimchi brine—it adds depth.
Keep water cold for a tender batter.
Use a non-stick pan—essential for stress-free flipping.
Add oil in stages for extra crispness.
Spread batter thinly for even cooking.
Avoid high heat—it can burn before the inside cooks.
Let the pancake sit 2 min before slicing—it firms up.
For vegetarians, use vegetarian kimchi.
Pair with makgeolli or enjoy as a savory snack.
🧊 How to Store Kimchi Pancakes
Store leftover pancakes in an airtight container in the fridge for up to 3 days. To reheat, warm them in a non-stick pan over medium heat until hot and crispy again—about 2–3 minutes per side.
❄️ Can You Freeze Kimchi Pancakes?
Absolutely!
Cool the cooked pancakes completely on a rack.
Stack them with parchment paper between each layer to prevent sticking.
Place in a freezer-safe bag or airtight container.
Freeze up to 2 months.
To reheat, no thawing is needed—simply place frozen pancakes directly into a hot non-stick skillet. Cook over medium-low heat for 4–6 minutes per side until heated through and crispy again. This method preserves both the crunch and the tenderness inside, so your kimchi pancakes taste freshly made!
💬 NonvegKahani Community Tips & Praise
⭐ Rahul K. says: “This is the easiest and most authentic kimchi pancake recipe I’ve ever tried. My family was blown away by the flavor! The balance of tang, crispiness, and tenderness was exactly like the ones I tasted in Seoul. Thank you for sharing this!”
Can I use fresh kimchi instead of fermented? Fresh kimchi won’t give the same depth or tang. It’s best to use kimchi that has been fermenting at least 2–3 weeks.
Is this recipe gluten-free? Not by default, but you can substitute rice flour or gluten-free all-purpose flour.
Can I add meat or seafood? Yes! Small shrimp or chopped squid are delicious additions. Add about ½ cup cooked meat or seafood into the batter.
How do I make the pancake extra crispy? Ensure you use enough oil, a thin layer of batter, and cook over medium-high heat.
What dipping sauce goes best? A simple mix of soy sauce, rice vinegar, a touch of sesame oil, and a sprinkle of sesame seeds pairs perfectly.
Did you also try this recipe "Leave a comment and rate it"